
NES Memory Visualization
Be it Mario or Minecraft, Spelunky or Snake, it strikes me that the video output of a video game is far from the only way of looking at things. Those images on the screen and those sounds from the speaker are but the most familiar outputs of an incredibly complex machine. But what if we could peek behind the curtain? What if we could see the machine in action, see its internal states and how it generates those images and sounds? What would games look like from this perspective?
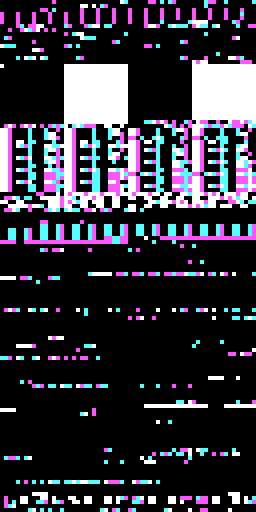
I recently began to explore this with the NES. My idea was to capture a snapshot of the system’s RAM for every frame of a game, and then translate these memory snapshots back into images. This process offers a lot of room for creativity, and some of the resulting images and videos are intriguing. There’s plenty to explore so let’s dive right in.
Setup
The goal of this initial experiment was to visualize an NES as it runs a game. To keep things simple, I decided to sample the RAM once for each rendered frame of the game, and focus on the NES’ 2KB of internal RAM. I also thought it would be a good idea to capture screenshots of the game to go along with these memory snapshots. On a NTSC NES, this works out to just over 60 memory samples and screenshots every second.
As doing all this on actual hardware would be exceedingly difficult, I opted to use the FCEUX emulator. This emulator offers a variety of debugging and reverse engineering tools, along with Lua scripting support. Here’s the simple Lua script used to collect the data:
outDir = ".\\output_test\\"
count = 0

function after_frame()
    gui.savescreenshotas(string.format("%s\\%d.png", outDir, count))

    local data = memory.readbyterange(0, 0x0800)

    emu.print(string.format("frame %d", count))

    local out = assert(io.open(string.format("%s\\%d.data", outDir, count), "wb"))
    out:write(data)
    assert(out:close())
    count = count + 1
end

os.execute("mkdir " .. outDir)

emu.speedmode("normal")
emu.registerafter(after_frame)

while true do
    emu.frameadvance()
end
This script captures the system’s 2KB of internal memory and a screenshot at the end of each frame, writing the whole mess to sequentially numbered files.
Now, the NES’ internal RAM is far from the whole story. The system has a 16bit address space, with the first 2KB for the internal RAM and higher addresses mapping to various other system resources. Cartridges may include additional RAM, and system’s picture processing unit has its own memory as well. Sampling these other resources may make for an interesting future project.
Basics
To turn memory snapshots into images, I first encoded the memory values using colors and then arranged these colors into a 2D image. The second step is necessary because memory addresses are one dimensional, but images that are 1 pixel high and 2048 or even 16384 pixels wide are not the most practical. I projected the one dimensional memory data into reasonably sized two dimensional images using the same algorithm as reflow, filling in the image data in english reading order: top to bottom, left to right. This unavoidably creates some false impressions. For example: in a 64 pixel wide image where each pixel represents a single byte of memory, two pixels vertically adjacent to one another are actually 64 bytes apart in memory. (I have run into the same problem in a number of my projects and am unsure if it can be avoided.)
I started by visualizing bits, with 0 as black and 1 as white. The NES’ 16384 bits of internal memory fit nicely in to a 128x128 image:

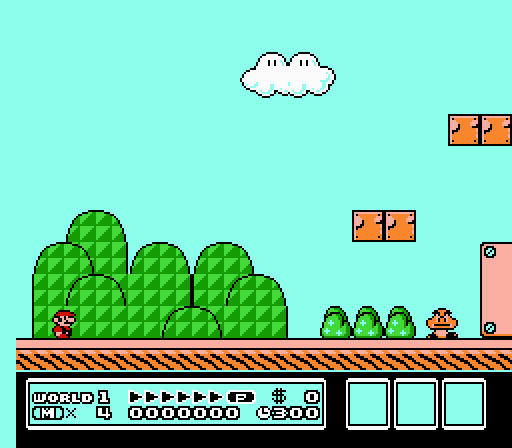
This memory was taken from the starting position in world 1.1 of Super Mario Bros. 3:
Different games, and even different sections of the same game, produce vastly different images:


Returning to Super Mario 3, adjust the image size and different patterns appear:
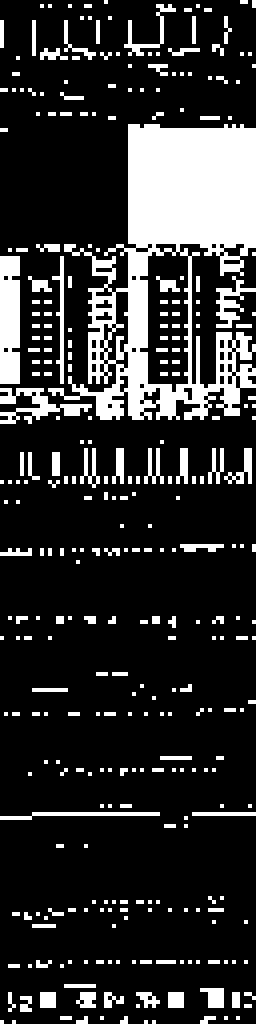
64 x 256
264 x 64
Power of two image widths generally show more regular patterns. Less normal sizes can also be interesting however:

99 x 166
Basic Color
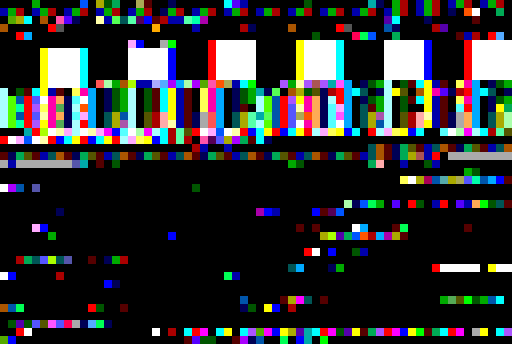
Now for some color. Let’s start simple by using one of the CGA standard graphics palettes. Each CGA palette has four colors, so each pixel can now losslessly encode two bits of memory. The data now fits into a 64 x 128 image:
Different lossless encoding techniques are also possible, along with lossy encoding. Here’s what it looks like if we encode each pixel from a byte, using a mask to discard all but the lowest two bits:
Data has been lost here; it is no longer possible to recover the memory snapshot from the image.
We can use the same techniques for other color palettes:
The same memory snapshot rendered using all three standard CGA graphics palettes, along with their high intensity variants
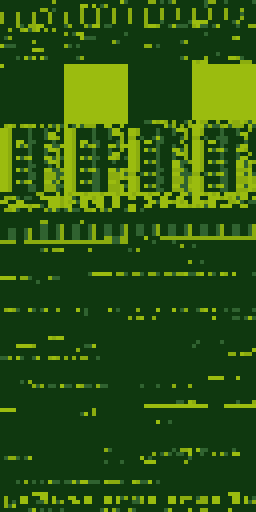
Using four shades of green to simulate the palette of the original gameboy
The 16 color palette of the Apple II, with each pixel now encoding four bits of data
](/content/2017-07-17-nes-memory/dawnbringer-mario3.png)
The beautiful Dawnbringer 16 palette
We run into a bit of trouble though for palettes with 8, 32, 64, or 128 colors, which require 3, 5, 6, and 7 bits per pixel respectively. This is not a technical problem—we can easily sample whatever number of bits we want, however we want—but these sample sizes result in samples that span multiple bytes.
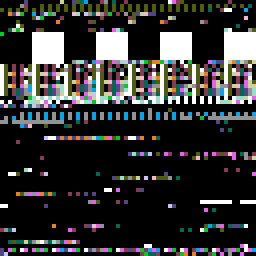
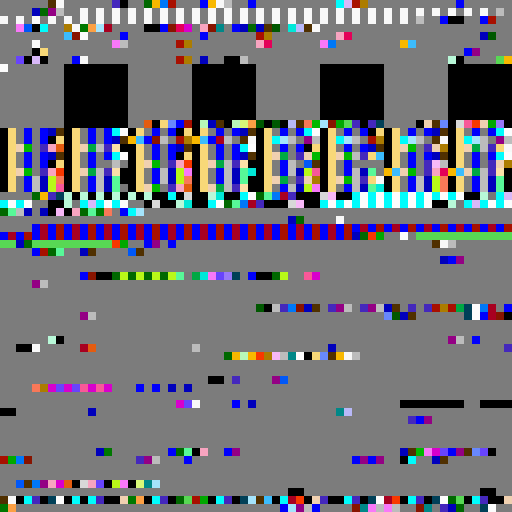
Memory structures are usually byte aligned at a minimum, so sampling across bytes can obscure patterns in the memory. Take the Sega Master System palette and its 64 colors. Now each pixel encodes six bits:
Surely looking at NES games with a Sega palette would have gotten me burned at the stake back in the day. I will go one step further however, and declare that the Master System palette is far better looking than the NES palette
Not terrible but there’s a lot more noise, especially around the edges of the larger blocks. At least some of this noise is because some pixels sample more than one byte.
One approach to keep the samples byte aligned without discarding any data is to map the same color to multiple bits values. An eight color palette can be expanded to use a four bit index for example, with two different four bit memory values mapping to the same color:
Expanding from 6 bit samples to 8 bit samples, where four memory values map to each unique Master System palette color
Another approach is to sample the same bits within a byte multiple times. For example, for an eight color palette, we could take 3 bit samples from 0th, 3rd, and 5th bit offset of each byte:
Master System palette sampling each byte twice, once at a 0 bit offset and once at 2 bit offset
The resulting image over-encodes that data, with some bits mapping to more than one pixel, but it restores the regular patterns (for best results, the width of the output image also should be a multiple of the number of samples per byte).
A few other palettes:
16 color Commodore 64 palette
128 color SAM Coupé palette
The NTSC and PAL 128 color palettes next to each other
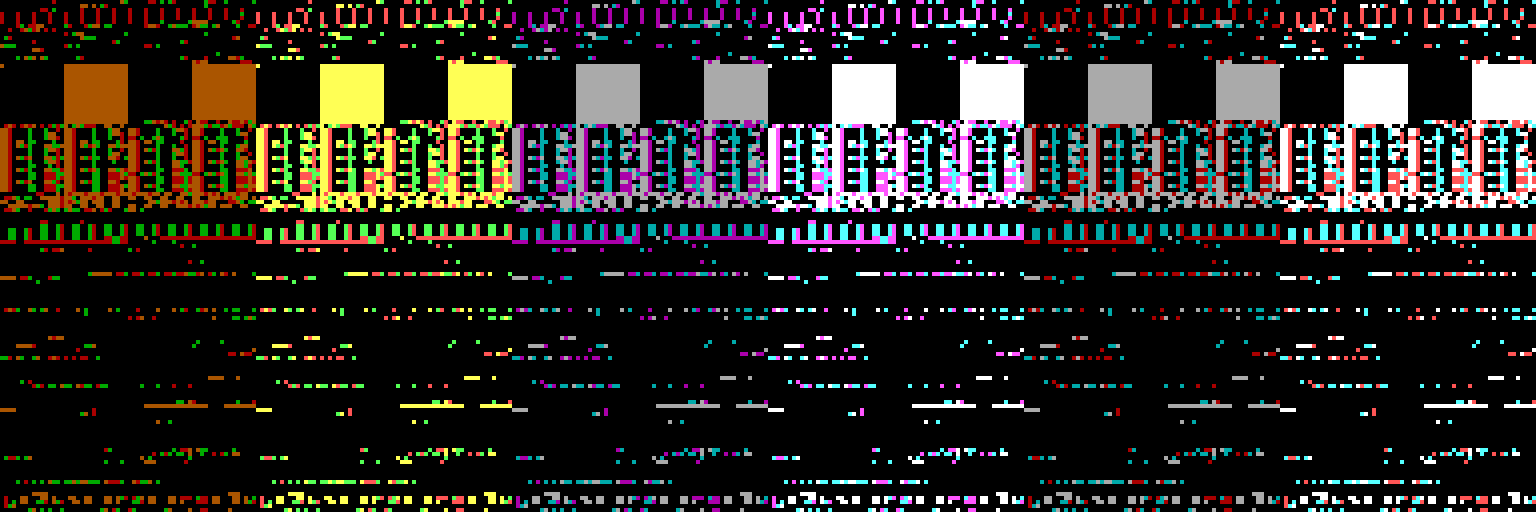
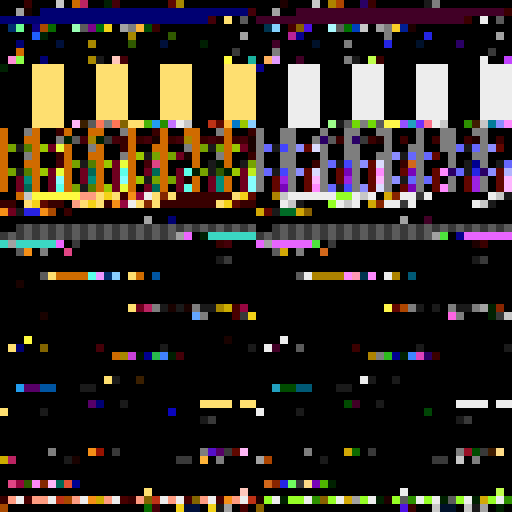
NES Palette
Which brings us to the NES color palette. The base NES palette has 64 colors, of which 10 are duplicates or not usable, leaving 54 unique colors. The system is somewhat peculiar in that it outputs NTSC video directly—rather than encoding RGB or some other format into NTSC—and the color palette is expressed using this standard. This means that various brands and models of TV will render the same color signal differently and as far as I can gather, there is no standard RGB mapping for the NES palette. I tried a few different palettes floating around the internet.
The first is NES’ theoretical color palette. It maps from the NTSC YPbPr colorspace to RGB, showing what the NES color palette would look like under ideal conditions:

Bright and vibrant. NES games never look like this unless you play them on an emulator.
Other palette variations come from people trying to match the look of an NES on a television:
](/content/2017-07-17-nes-memory/nes2-palette.png)
](/content/2017-07-17-nes-memory/nes3-palette.png)
And finally, here’s the palette the FCEUX uses by default:
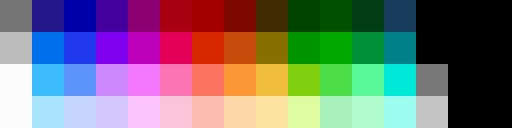
This FCEUX palette is what I used for all the NES visualizations.
There’s a great deal more to the NES color story than its palette. The hardware limits the number and arrangement of colors on the screen, limits which these visualizations blissfully ignore. There are also tricks to display a good many more than 54 colors, not to mention all the visual tricks that NES artists and programmers use to fool you into seeing more colors than there actually are. The artwork of a well executed NES game more than holds up today, and when you consider the NES’ technical limitations and peculiarities, this work is all the more impressive.
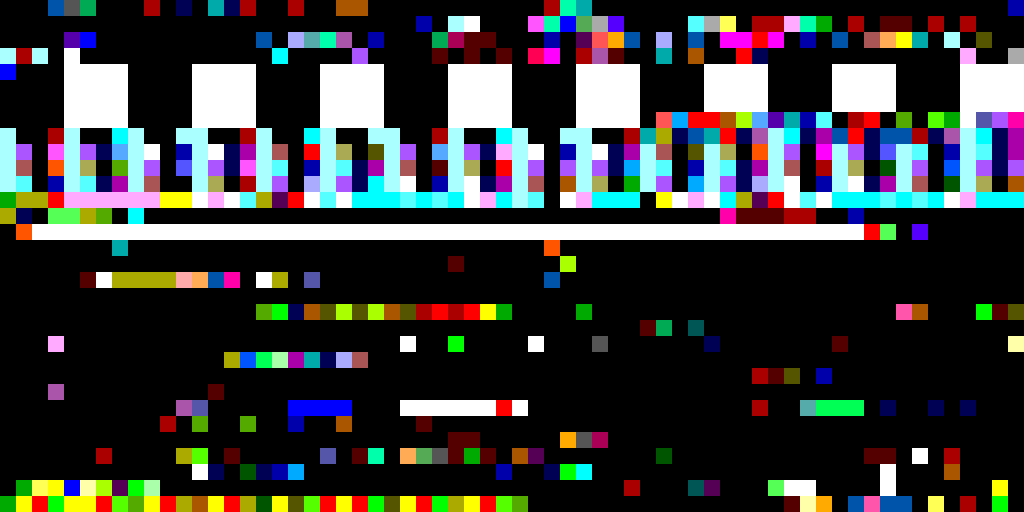
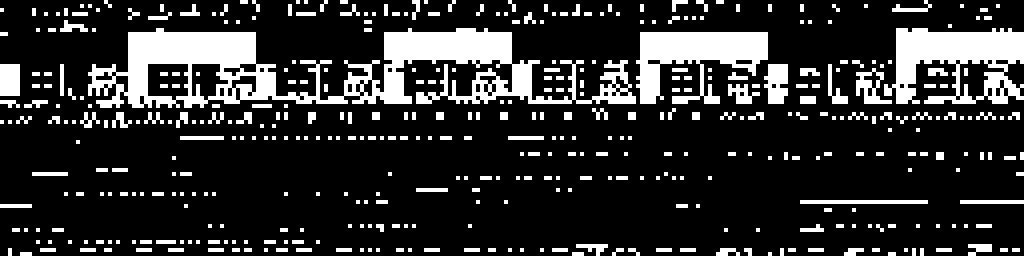
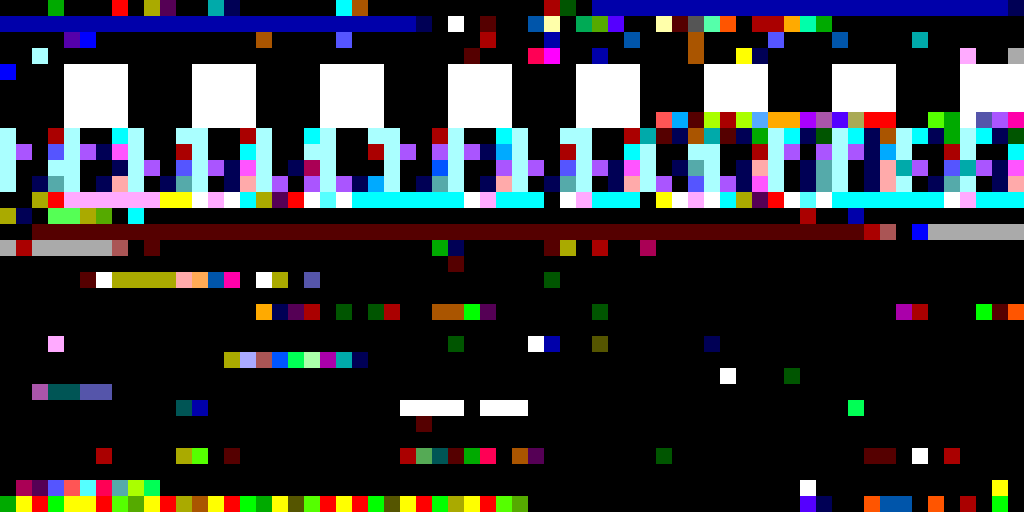
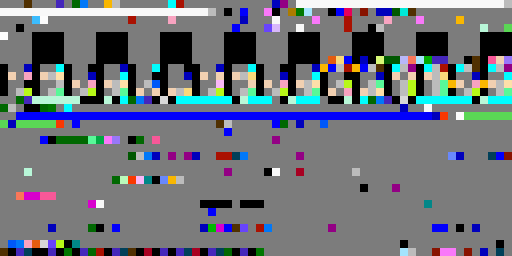
Here are a few visualizations of the same Mario 3 memory snapshot using the NES palette:
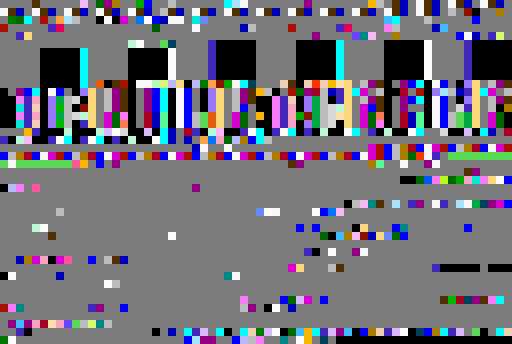
Default mapping, six bits per pixel
Lossy byte level mapping where four unique memory values map to each of the 64 palette colors
Sampling six bits from the same byte twice, once from zero offset and once from a two bit offset
There’s no avoiding it: the NES palette is pretty damn ugly. No matter what sampling techniques, palette variations, and filters I used, none of the results using an NES palette look very good.
Further Mappings
A number of additional data to color mappings are also possible. Just a few examples:
Luminance maps each byte to one of 256 grayscale colors
 extracts color values from each byte, with three bits for red, three for green, and two for blue](/content/2017-07-17-nes-memory/truecolor-32x64.png)
8-bit truecolor extracts color values from each byte, with three bits for red, three for green, and two for blue
 uses a byte for each of the red, green, and blue channels](/content/2017-07-17-nes-memory/rgb-32x22.png)
24-bit truecolor uses a byte for each of the red, green, and blue channels
Video
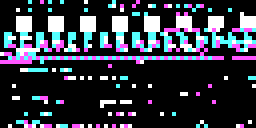
Almost all of the example images so far were generated from the same Super Mario 3 memory snapshot. But what does the memory look like as a game executes?
This first video shows the Super Mario Bros. 3 booting and the title screen using the NES palette with the 6 to 8 bit expansion mapping:
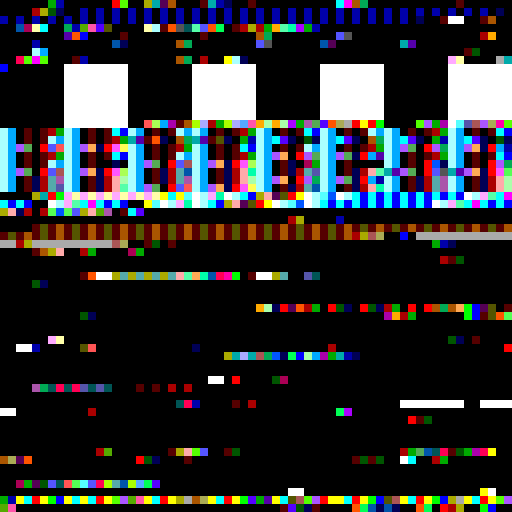
As for actual gameplay, here’s the first level of Super Mario 3 from a speedrun by Lord Tom, Mitjitsu and Tompa visualized using the high intensity variant of CGA palette 3:
(In retrospect, I should have tried to capture sound for these videos as well. Oh well.)
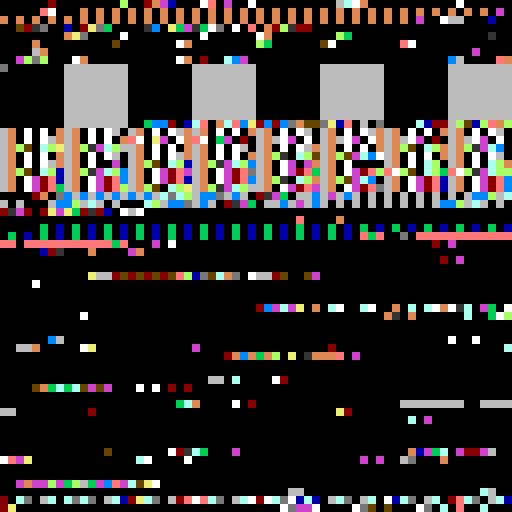
Other games are just as interesting. Here’s me sucking at Dr. Mario in 8-bit truecolor:
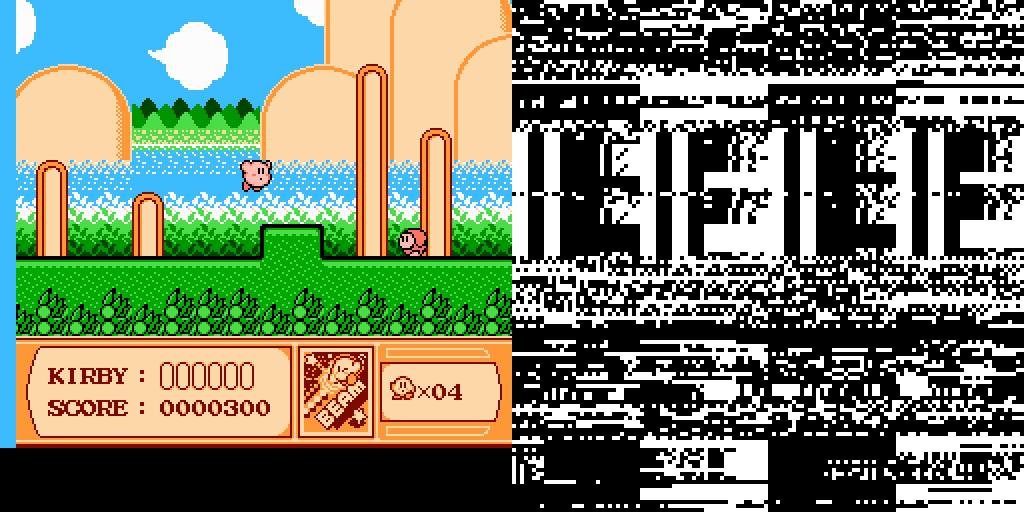
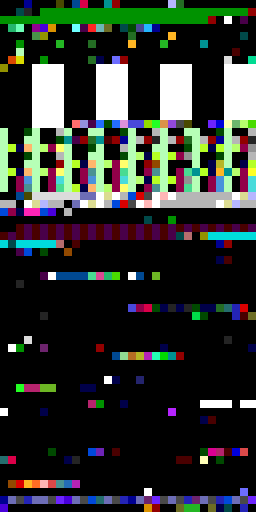
Here’s DuckTales, one of my personal favorite NES games, using a faux gameboy palette:
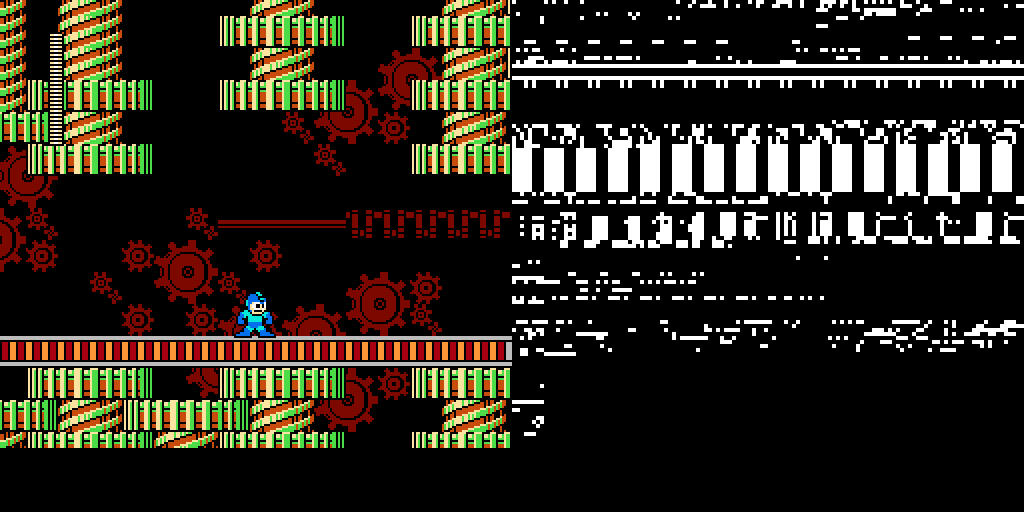
And finally, returning to the Master System palette, here’s the epic intro of Mega Man 2:
Nice.
Thoughts
This experiment only scratches the surface of what’s possible. There are countless other NES games and stages to try, and endless ways to visualize them. I find it very interesting to look at games this way, and maybe I’ll explore this concept further in the future.
All the scripts and data used in this experiment are on Github if you want to try your hand at pulling back the curtain.