
Lens Look: Shooting with a Minolta UW Rokkor-PG 18mm Lens on a Nex-7
I’ve recently been trying out a Minolta UW Rokkor-PG 18mm f9.5 on my Nex-7 and thought that I’d share my initial, very subjective thoughts about this combination, along with a few sample photos.
A Quick Look At the Lens
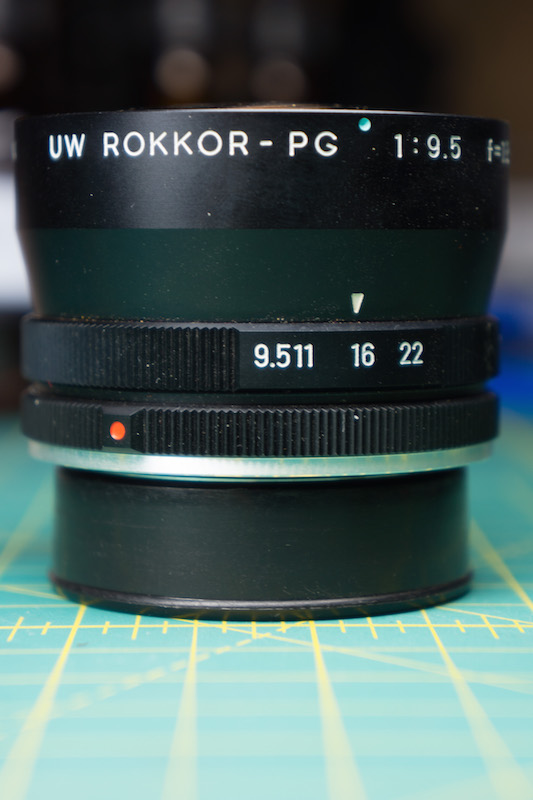
The UW Rokkor-PG was originally released in 1966 and was Minolta’s first fisheye Rokkor. Spec junkies will immediately notice the lens’ slow f9.5 minimum aperture, especially when compared to the later 16mm Rokkor-OK fisheye lens. The lens is fixed focused around 10ft and lacks coupling to the camera, not an issue when shooting on mirrorless.
The front optic slightly protrudes past the main body housing, so you cannot use front lens filters. A special metal lens cap was originally included with the lens to protect the front optics, along with a bayonet lens hood. Given the wide field of view and somewhat flare prone coating of this lens, I recommend always keeping the lens hood mounted on the camera.
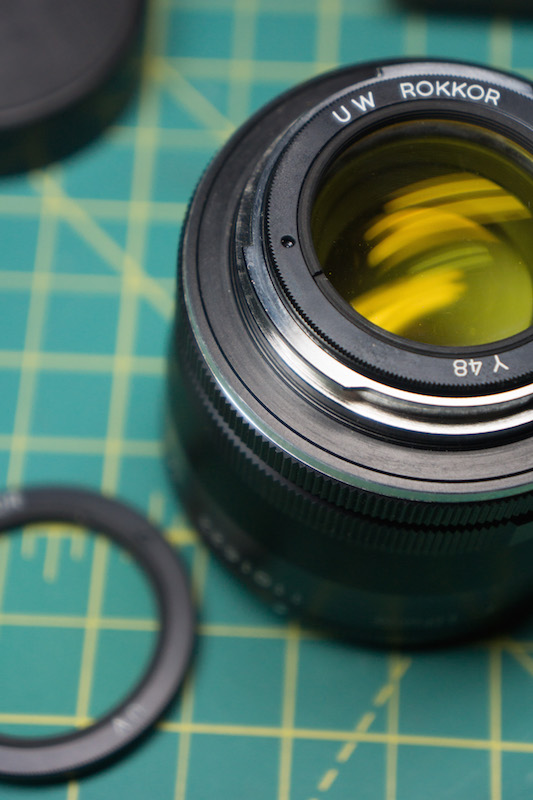
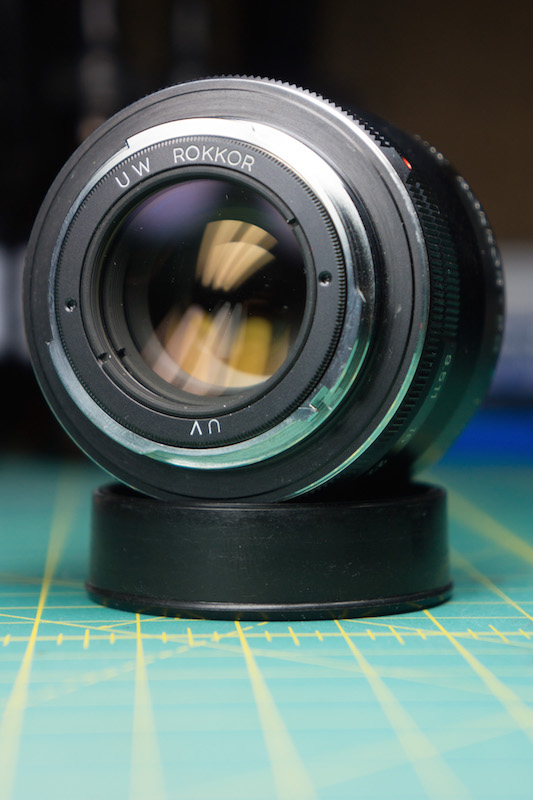
On the back of the lens you’ll find a screw-in filter. A UV and a yellow filter both came standard with the lens, while a red filter was extra. The back filter is actually part of this lens’ optical design, so you should always keep one installed. The back filter can be unscrewed using the metal tool originally included with the lens or using a standard pointy tipped spanning wrench.
Shooting
First off, this lens really is designed for full frame. On the APS-C crop sensor Nex-7, it works out to be around 28mm, not all that wide for a fisheye lens. Still, I found shooting with it to be an interesting challenge and like some of the results.
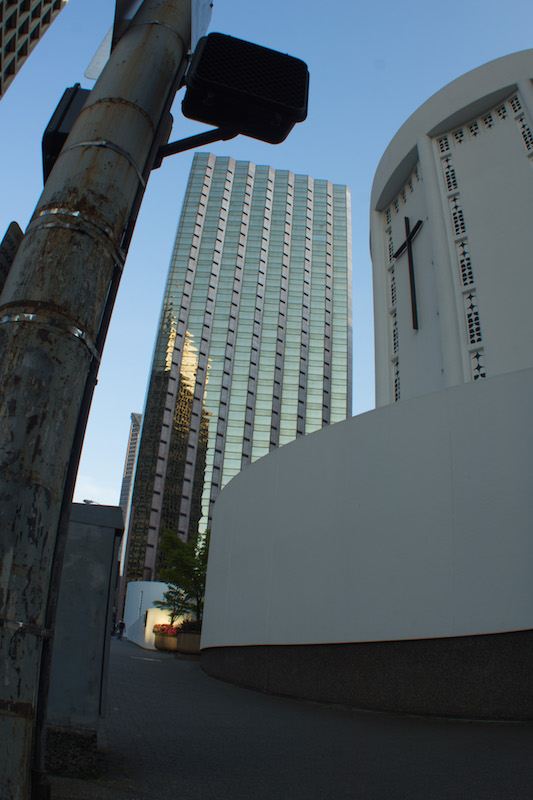
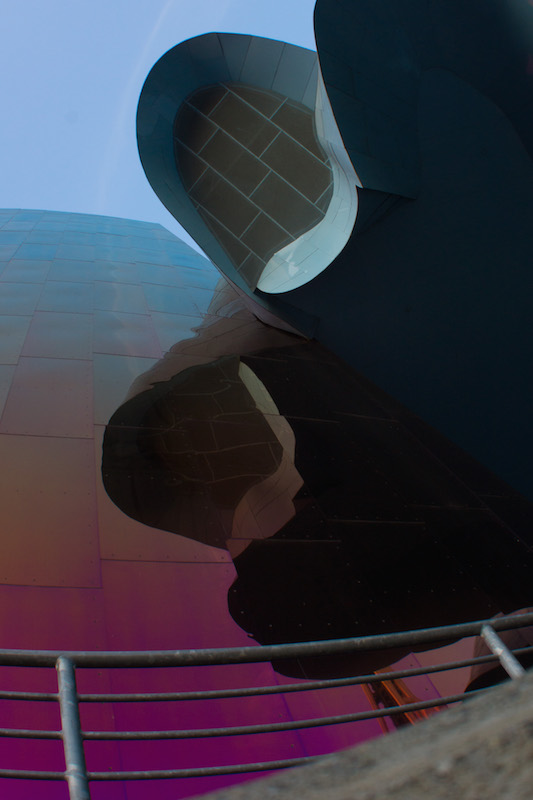
I first started shooting with the lens like I would a normal 18mm. This was a mistake. Getting good results out of this lens is all about embracing the distortion, and that distortion is significant, even on a crop sensor camera. If you’re constantly fighting against the distortion, you’re gonna have a bad time.
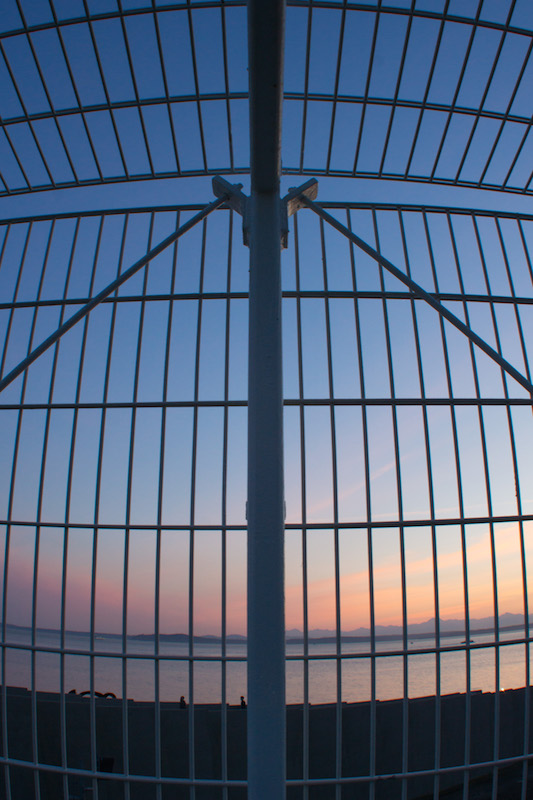
Like shooting with any fisheye lens, you really have to consider the visual lines in the scene and how these lines will be affected at various points of the frame. Through careful composition, you can get lines that appear fairly straight and photos that appear fairly distortion free.
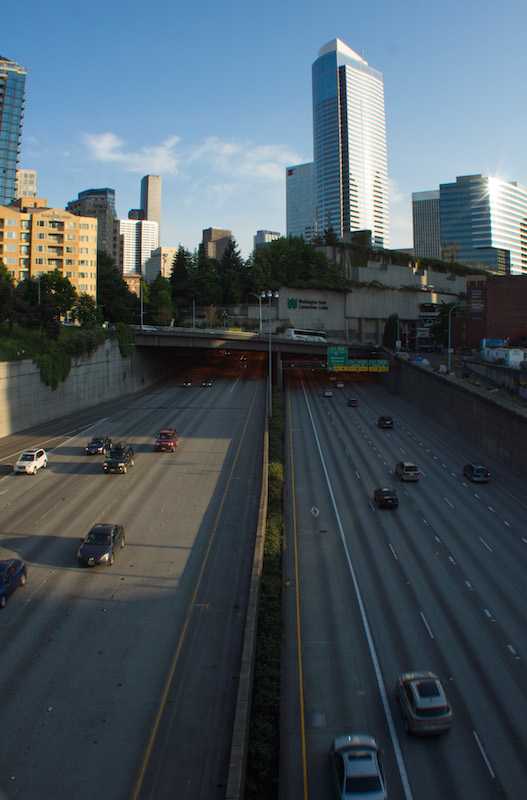
I shot around Seattle from late afternoon through the evening. The lens performed best in shadows and lower contrast scenes facing away from the sun. In direct sunlight, images became too washed out, even when light was not directly falling on the front element. The lens coating is pretty poor to boot, so any direct light on the front optic tended to produce flare.
I shot mostly by hand throughout the evening, at f11, and the slow aperture was much less of an issue than I anticipated. The fixed focusing was somewhat nice too, as it allowed me to concentrate more on composition. For most shots I just anchored the camera on something sturdy and shot around 1/10s - 1/20s, between 100 and 400 iso, but I did break out a tripod later in the evening.
Even using a tripod at f22 on a crop sensor camera, the images this lens produces are just not very sharp, especially at the edges of the frame, and this should be considered when composing shots. The focus is also fixed around 10ft, somewhat further away than I would have liked. You can certainly shoot closer in, but the foreground may lack detail.
Final Thoughts
Despite all of its flaws, I still had a great time shooting with the lens. It’s a specialty lens for sure, so I don’t know that I will always keep it in my camera bag, but it does offer an interesting perspective of things. Certainly not a lens for pixel peepers. But, by spending a bit of time with the lens and embracing its quirks rather than fighting against them, I was able to produce some interesting images and I look forward to taking it out shooting again soon. If you can pick one up cheap enough, I would recommend it.
You can find some more shots from my evening with the lens here.