
HE LIVED
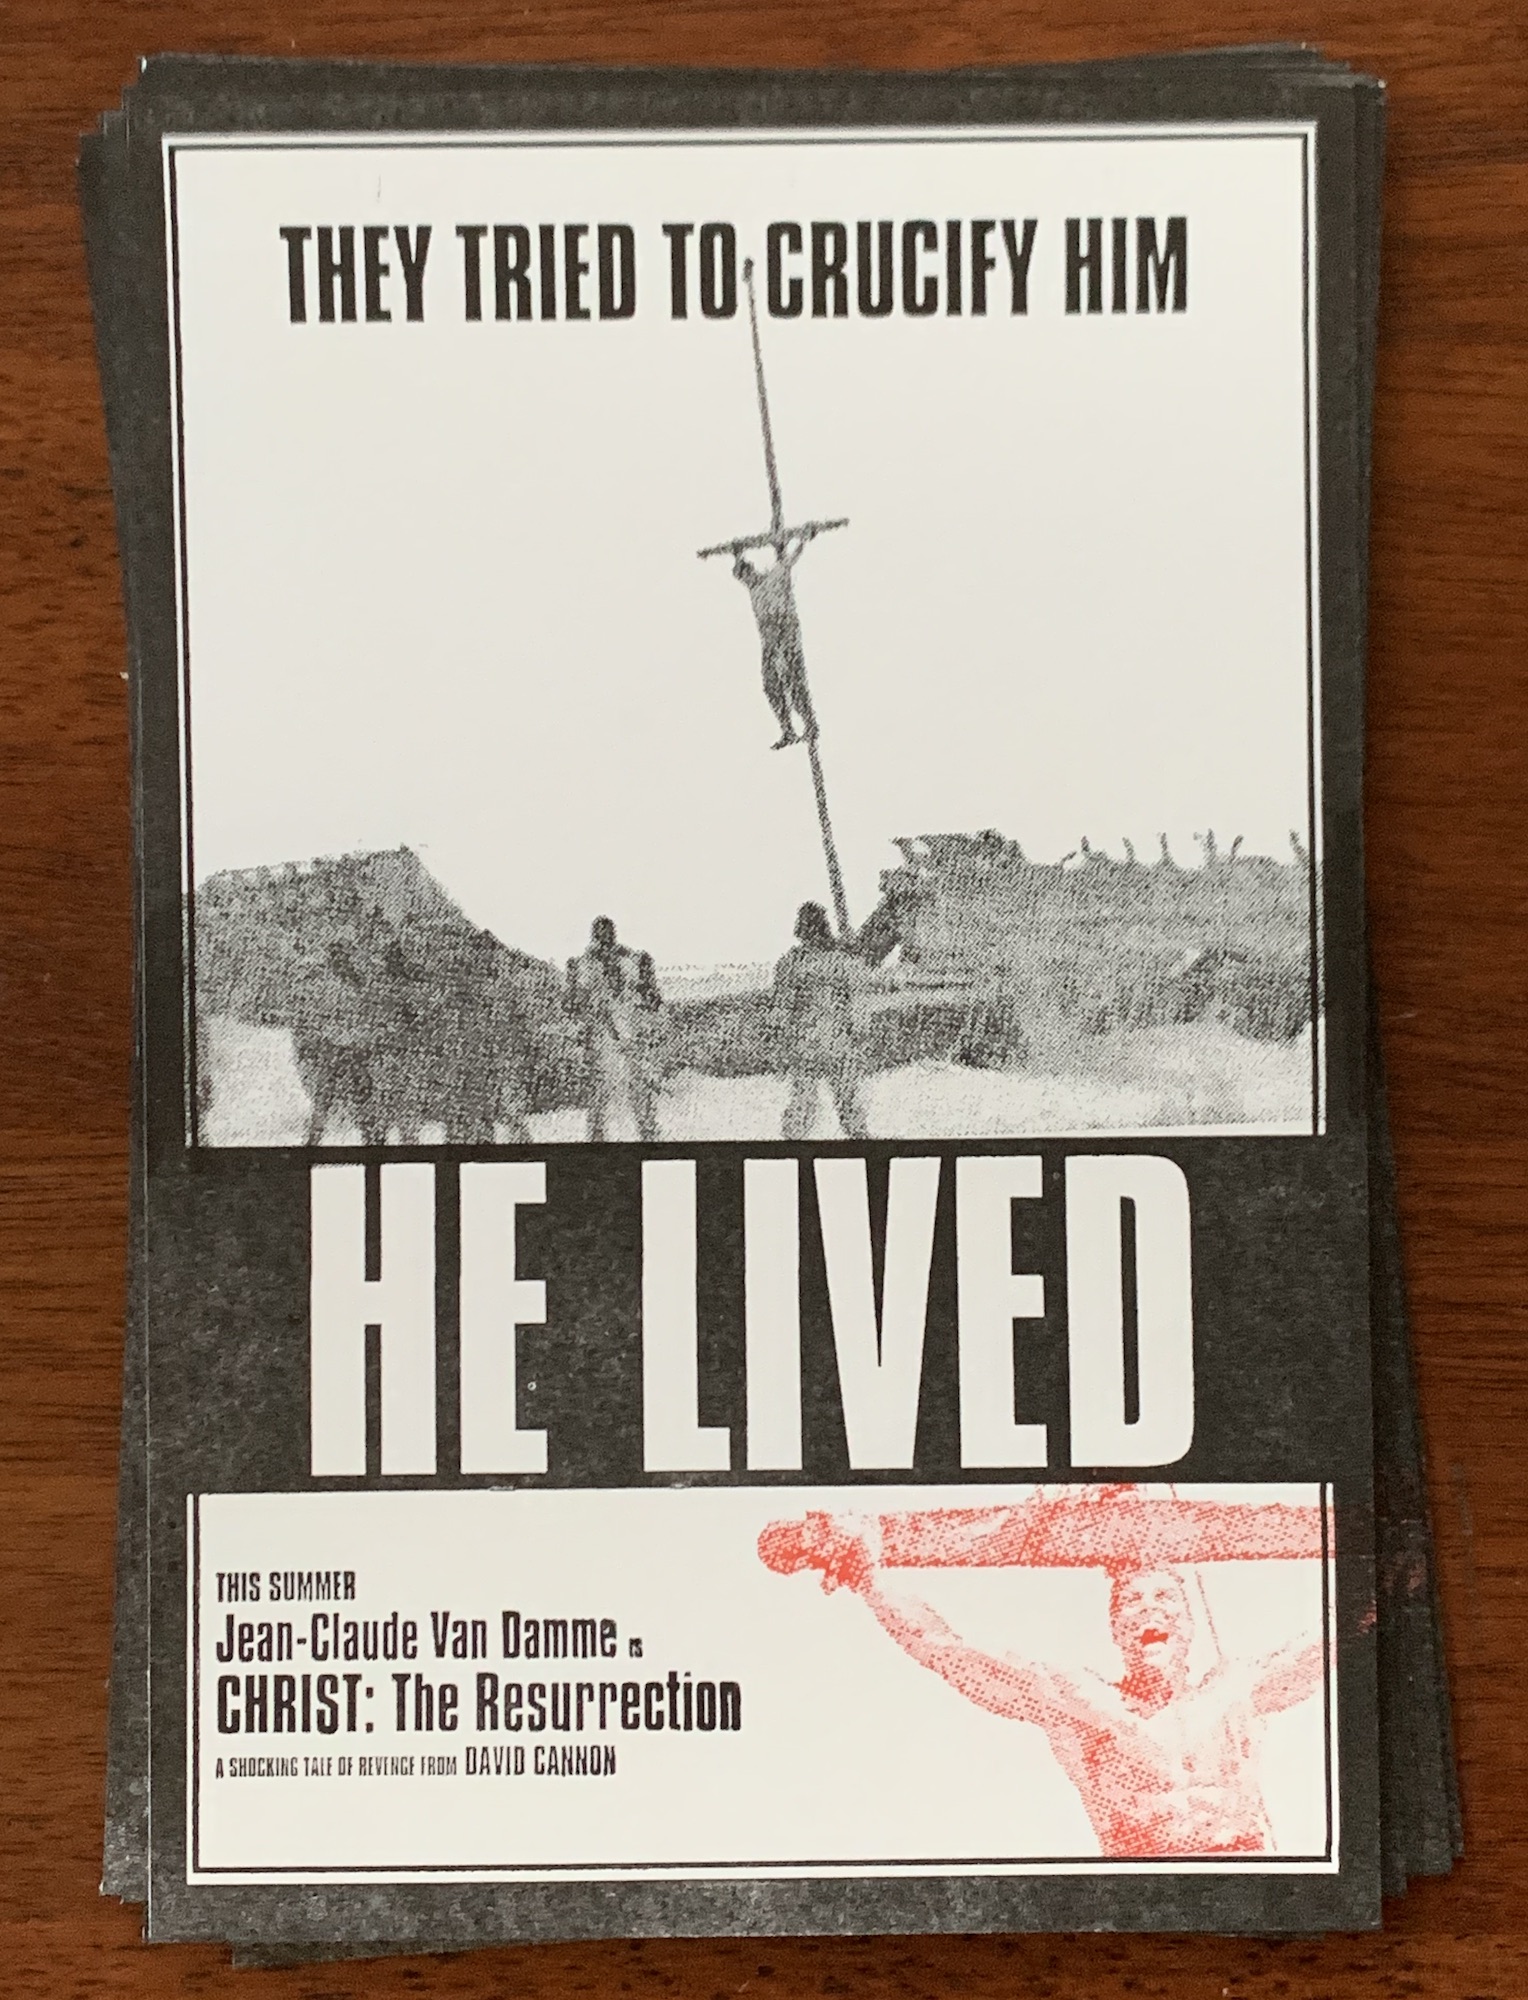
This small letterpress print is a tribute to the classic Jean-Claude Van Damme film, Christ: The Resurrection. Although generally not considered to be one of his better works, one scene from this fine cultural delicacy will always stick with me…
Towards the end of the film, our lord and savior Jean-Claude Van Damme predictably ends up crucified by the big bad. “Game over”, you think, “I know how this story ends.” But no, Jean-Claude Van Damme’s not going to take the easy way out and then laze around for a whole three days before skulking on back. He’s a fighter, so he starts kicking. And you almost can’t believe your eyes as you watch Jean-Claude Van Damme perform yet another miracle as he literally kicks himself down from the cross, gets up, and (spoiler alert) goes on to save all mankind! I mean God damn!!! Why didn’t they cover that in Sunday School?

The print was produced using laser cut acrylic. This was my first time using the material extensively. Acrylic is cheap, durable, and holds fine detail fairly well although it was not as easy to work with as I first hoped.
To print large solid shapes or larger text, you can cut the shape directly out of the acrylic. This works well and I used this approach to create the large “X” for the Theremin-X prints. You can do the same with plywood or chipboard of course, with each material having its own advantages and disadvantages. Acrylic is nice because it has a clean printing surface, holds up, and can be easily re-used.
This print however involved small text and halftone images. For these, you can instead engrave the acrylic. However keep in mind that letterpress is a relief printing method, so to print the letter “A” for example, you actually need to engrave away all the negative space around the “A”.
In my first attempt creating the plates for this poster, I tried engraving the black elements of the design in a single pass. About a third of the way through though, my quarter inch acrylic sheet started to bend and warp significantly from the heat, making it really difficult to print with.
This plate curved almost an inch in the center. You can also see all the places where I had to pause the engraving because of the warping.
Suspecting that the large area being etched away was to blame for the warping, I minimized the area being engraved away. For large engraved areas, such as all the white space around the top image, I only engraved about a quarter inch out from the design and then used a vector cut to remove the rest of the material.
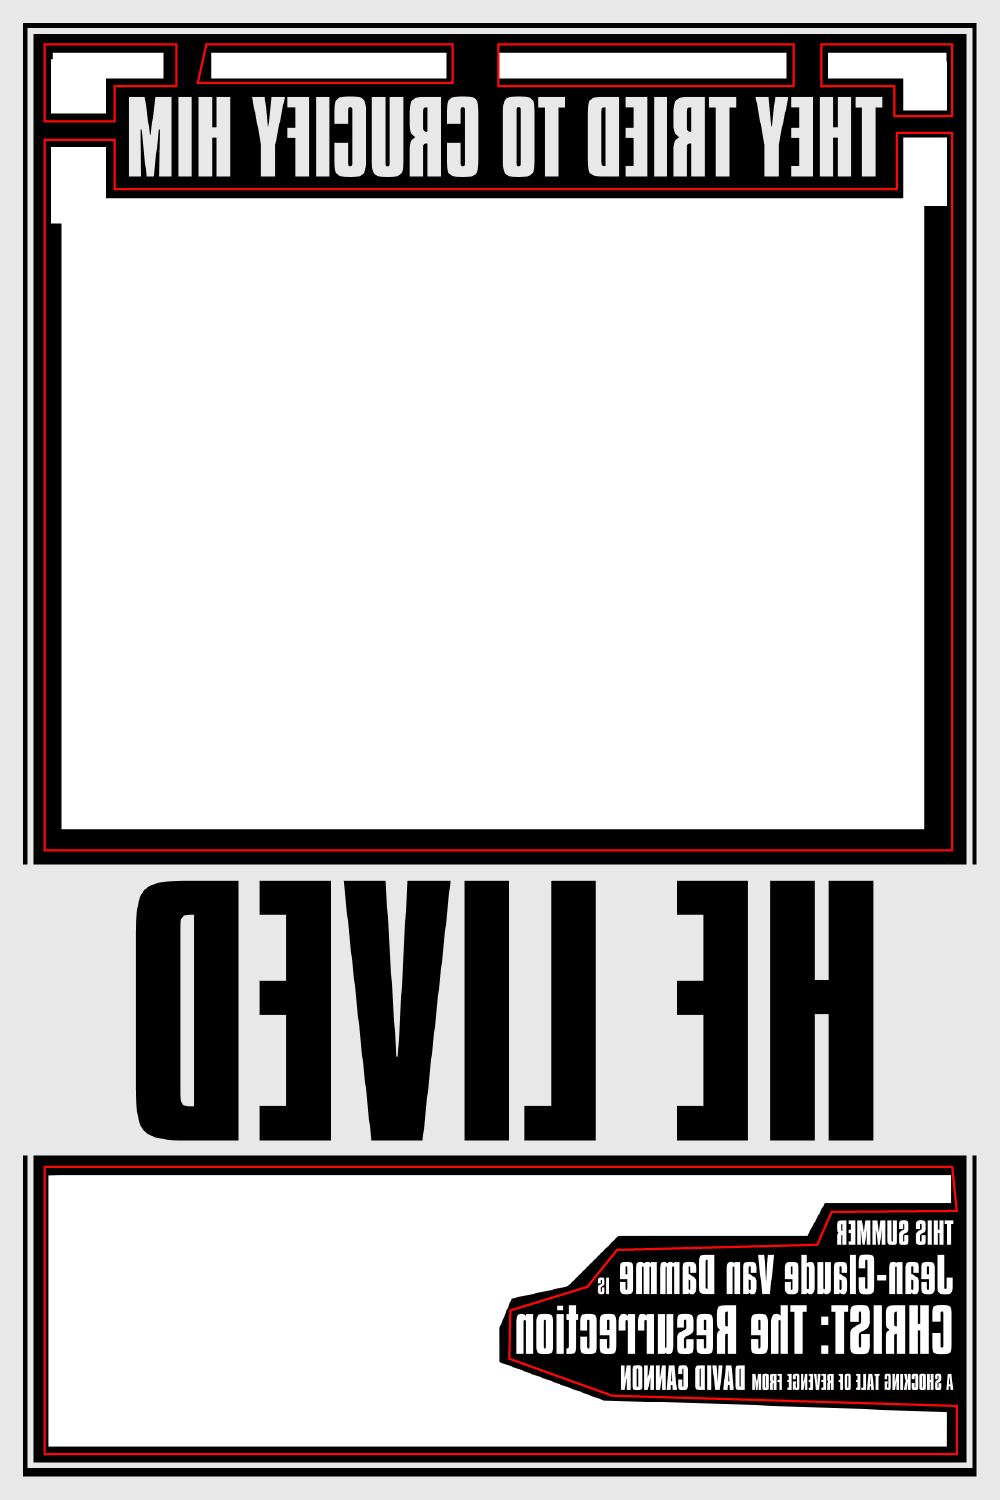
Laser file for the design. Black is area to engrave while white is ignored. The red lines represent vector cuts used to remove large sections of material.
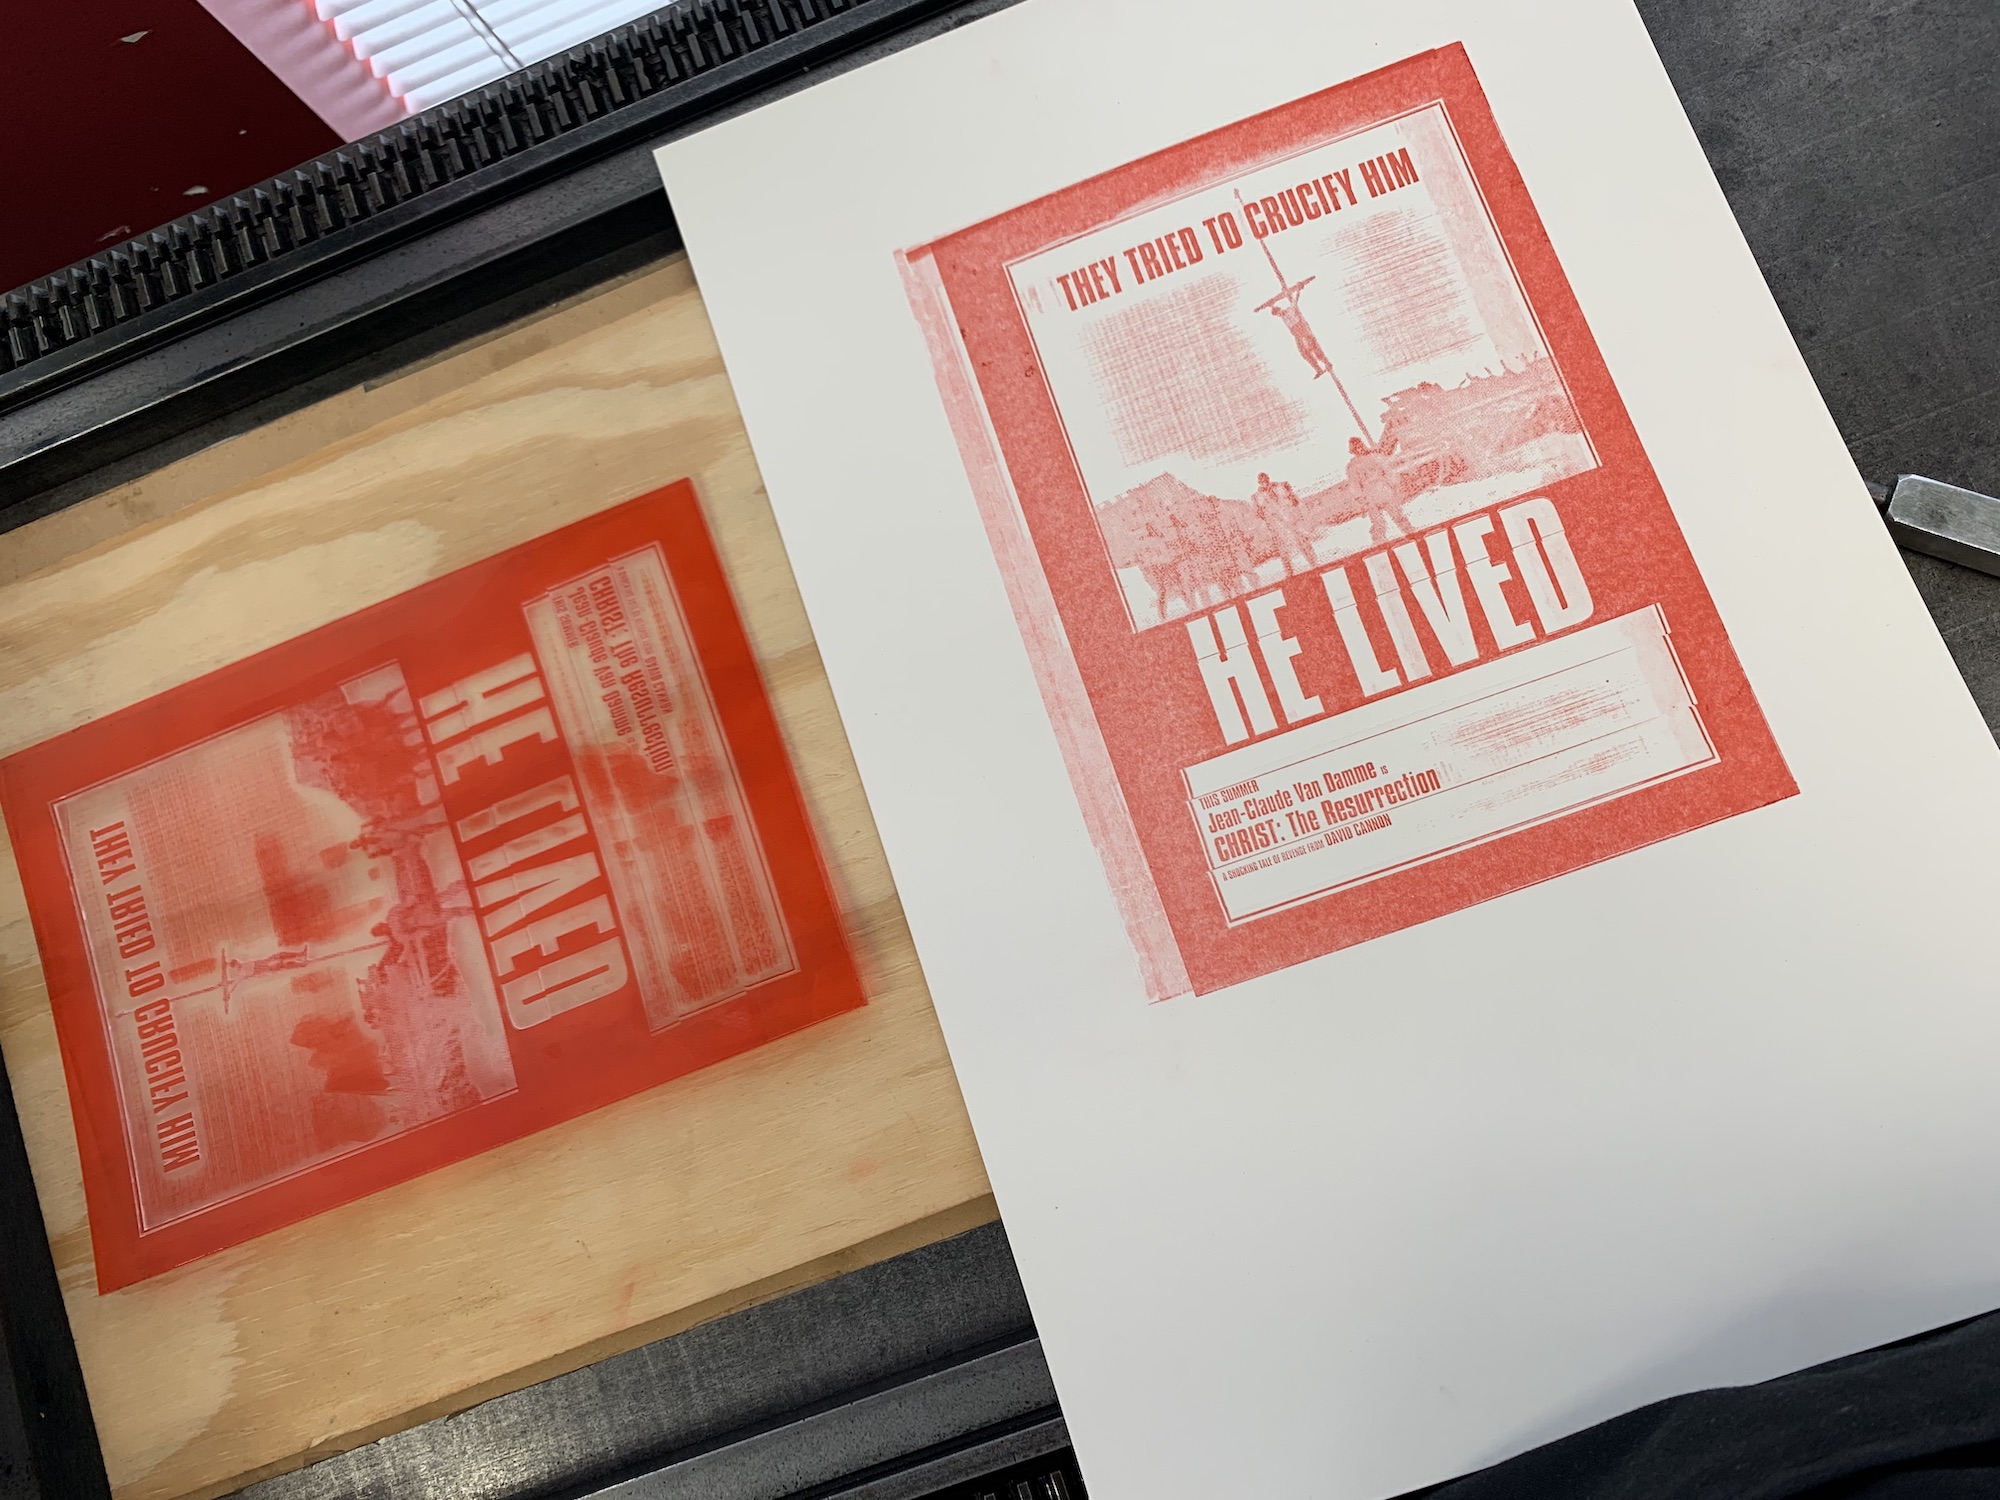
I also ran the laser multiple times at lower power levels and used thinner acrylic sheets (1/8 of an inch thick or less) that I hoped would be easier to adhere flat to a printing base. This worked much better, although the large black frame still warped some which made printing imprecise.
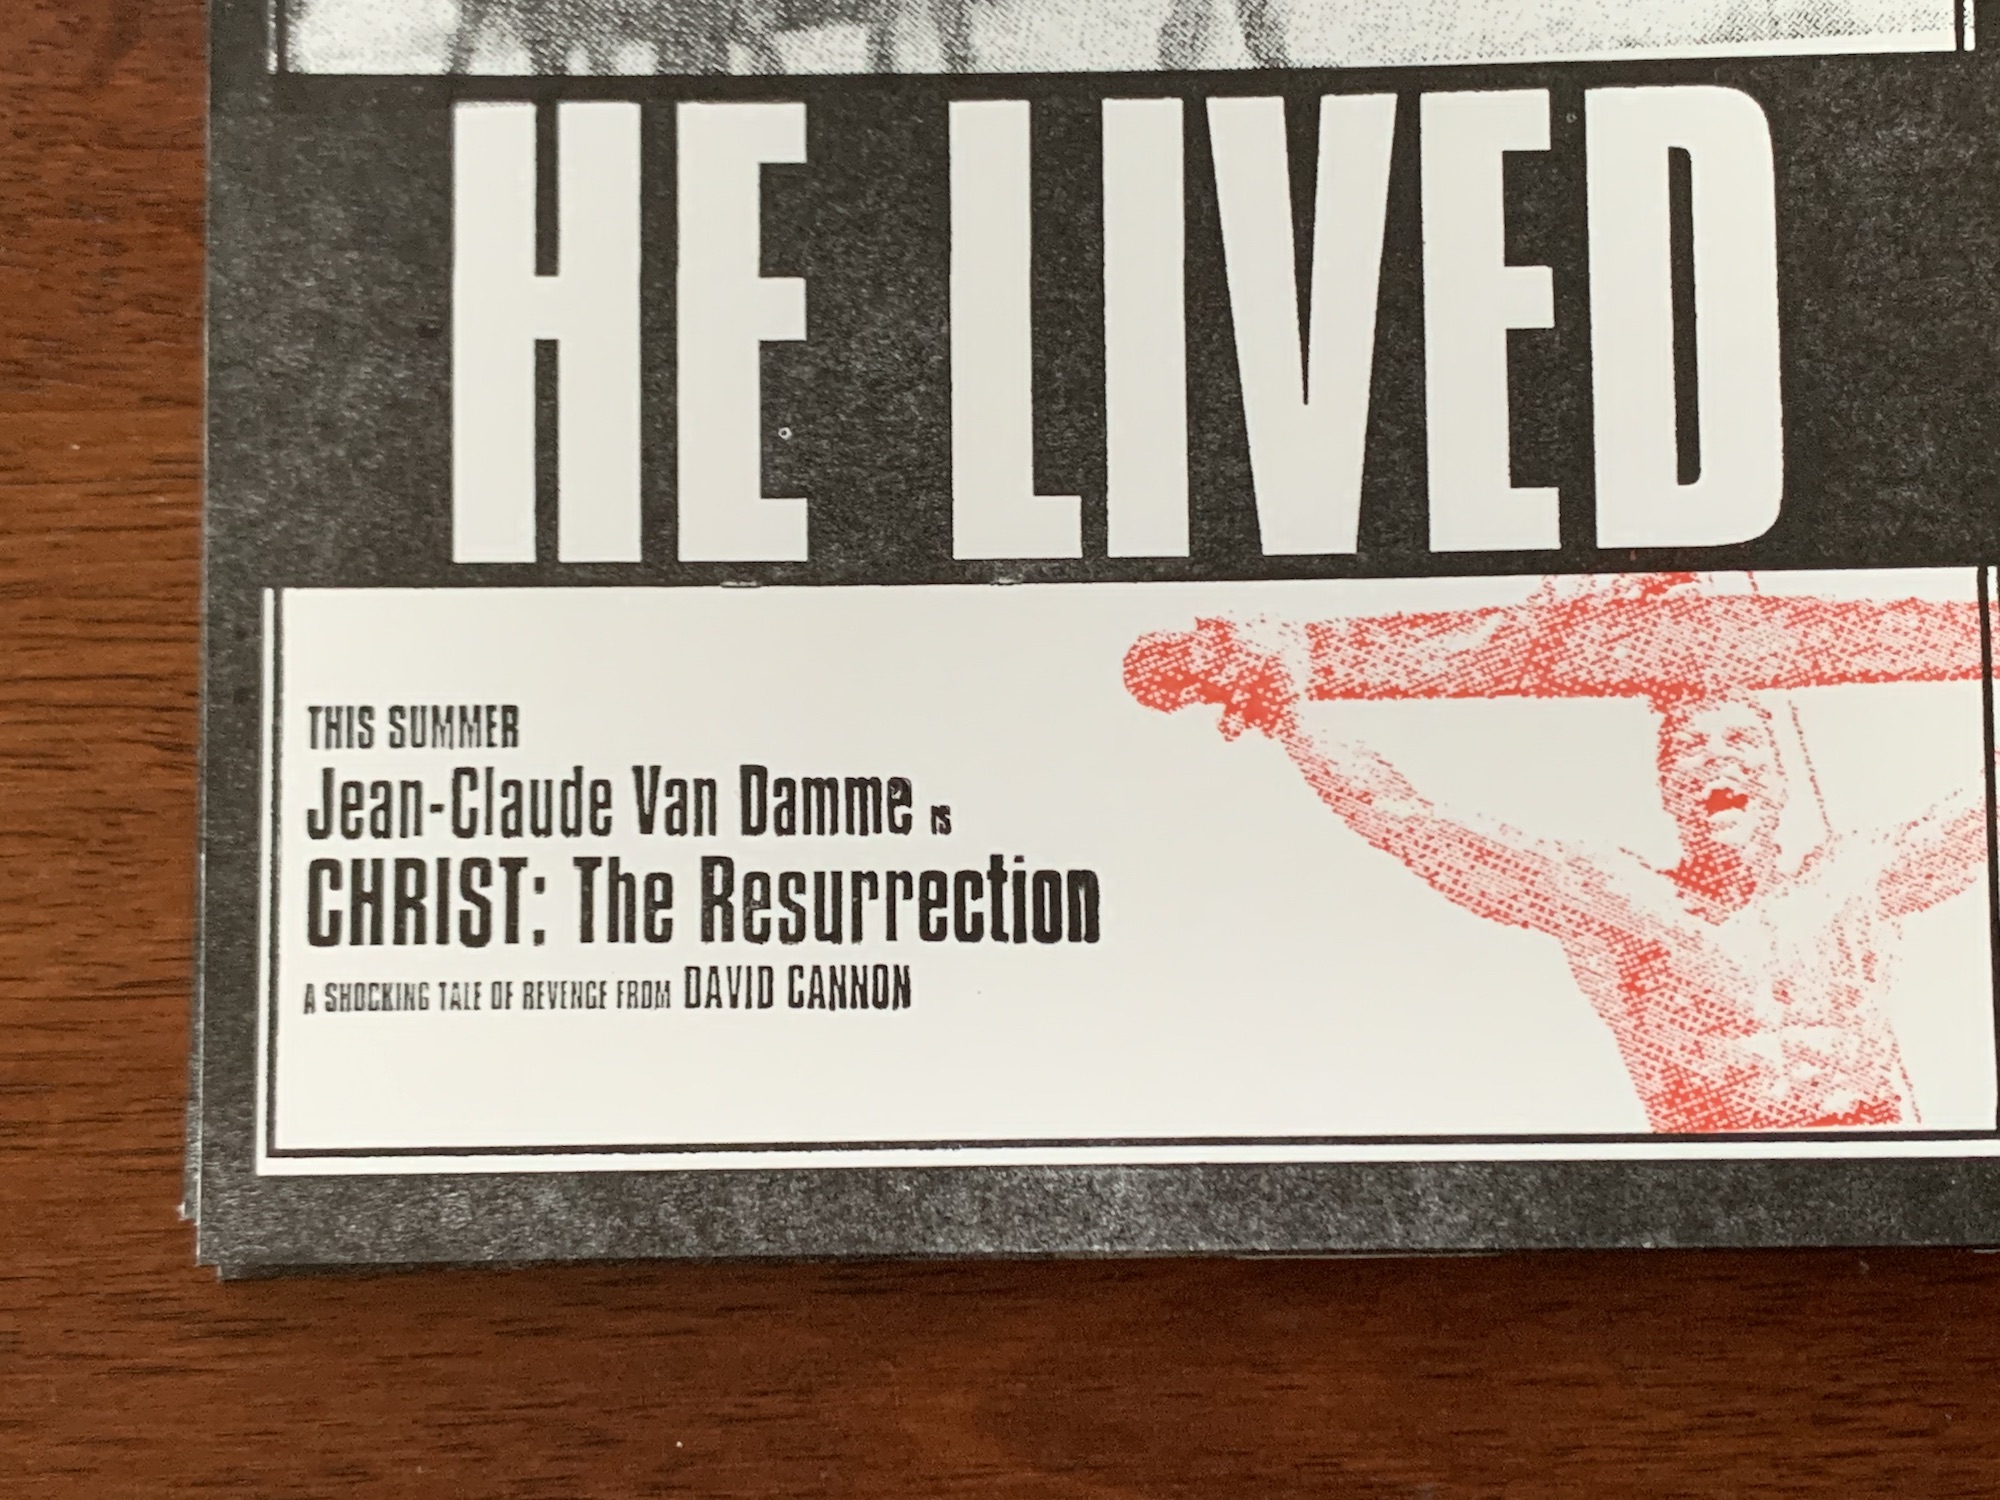
I was learning all this while printing these, so the prints themselves are certainly not perfect. Good thing a bit of grunge fits with the aesthetic.